When I first discovered email automations, it felt like I’d unlocked a secret marketing superpower. Seriously, who doesn’t want to send personalized emails without lifting a finger? But if you’re new to Klaviyo (or email marketing in general), the idea of setting up automations might seem a little overwhelming at first. Don’t worry—I’m here to make it simple, fun, and effective. This guide to email automations will show you exactly how they can change the game for your e-commerce store.
Listen On The Go 🎙️
What Are Email Automations, Anyway?
Before we get into the “how,” let’s start with the “what.” Email automations are exactly what they sound like—emails that are automatically sent to your subscribers based on specific triggers or actions they take. Think of them as your 24/7 marketing assistant, helping you stay in touch with customers, nurture relationships, and drive sales while you sleep.
Imagine having a series of welcome emails going out to new subscribers, or abandoned cart reminders bringing customers back—all without you having to do a thing. That’s the magic of email automation.
Why Automations Are a Must-Have for E-Commerce
Let’s be real: manually emailing every customer is not an option when you’re running an online store (unless you’ve found a way to pause time, in which case, tell me your secret!). Automations allow you to stay top of mind with your customers and move them through the buying process—whether it’s reminding them about their abandoned cart, thanking them for a purchase, or giving them a little nudge to leave a review.
Here’s why automations are such a game-changer:
- Saves time: Set it once and let it run in the background.
- Consistency: Every subscriber gets the same great experience.
- Increased sales: Automated emails often have higher open and conversion rates compared to regular campaigns.
Step-by-Step: How to Set Up Your First Automation in Klaviyo
Okay, now for the fun part—let’s get you set up with your first Klaviyo automation! Don’t worry, it’s easier than it sounds.
Step 1: Choose Your Trigger
First things first—what action will trigger your automated email? For beginners, I recommend starting with a simple Welcome Flow for new subscribers. Every time someone signs up for your email list, they’ll automatically receive a series of emails welcoming them to your brand.
Pro Tip: Keep the first email short and sweet, introducing yourself and offering a welcome discount or freebie to kick off the relationship.
Step 2: Set Up Your Flow in Klaviyo
In Klaviyo, head to the “Flows” tab and click “Create Flow.” You’ll see a bunch of pre-made templates, so choose the one that suits your trigger (like the “Welcome Series”). From here, you can customize the emails—add your copy, images, and make them you.
Step 3: Personalize & Segment
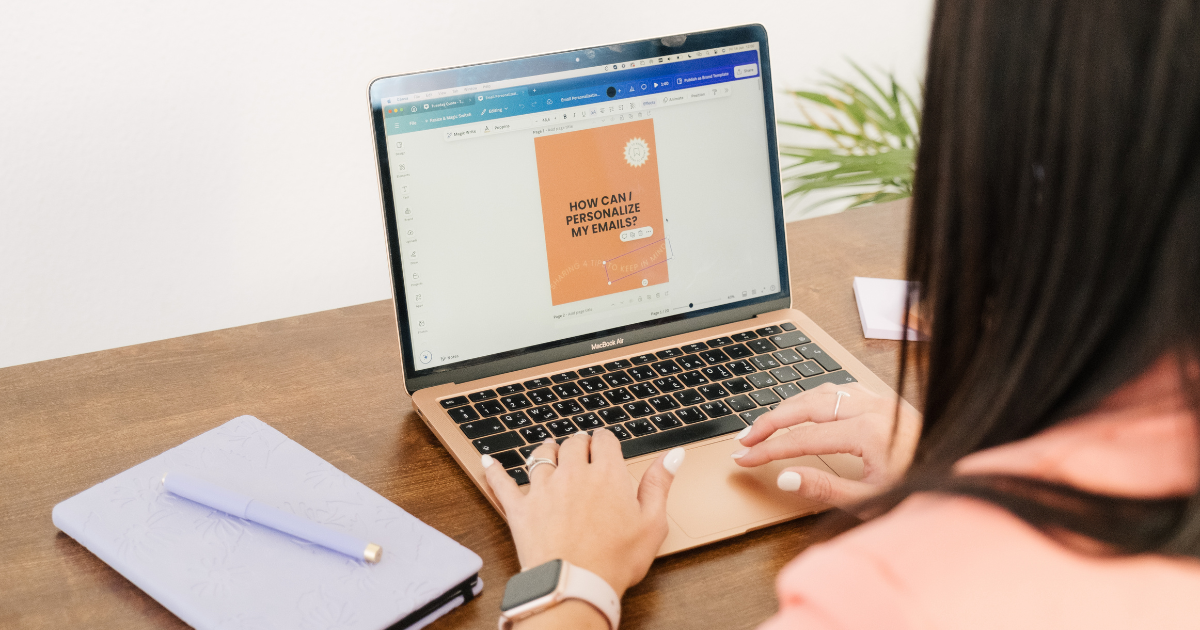
The beauty of Klaviyo is how easy it is to personalize your emails. You can use customer data to make your emails feel more personal—like addressing them by name or offering product recommendations based on their browsing history.
Remember: The more relevant your emails, the better they’ll perform. You don’t need to send a generic message when you can speak directly to what your customer cares about. Use YOUR VOICE! You do not need to be perfect, just be real.
Step 4: Test & Launch
Before you hit the “Go Live” button, make sure to test your emails! Send them to yourself or a friend and check that everything looks good—no broken links, no typos, and most importantly, that it’s on brand. Once you’re happy with it, hit launch, and voilà—your first email automation is live!
Which Automations Should You Start With?
Not sure which flows are the most important? Here are a few must-haves to get you started:
- Welcome Series: As we talked about, this is your introduction to new subscribers. First impressions matter, so make this flow count.
- Abandoned Cart Flow: You’d be surprised how many people leave products in their cart without checking out. A simple reminder can bring them back to complete the purchase.
- Post-Purchase Flow: Keep the love going after the sale! Send a thank-you email, product recommendations, and even request a review.
Ready to Automate?
Setting up email automations in Klaviyo might feel intimidating at first, but with this guide to email automations, you’ll gain the confidence to create flows that make a big impact on your e-commerce success. And remember, you don’t have to start with a million different flows. Focus on one at a time, make it great, and build from there.
If you are ready to automate your email marketing and transform your e-commerce business, start by downloading my Free Quickstart Checklist to High-Converting Pop-Ups & Welcome Flows—your step-by-step guide to setting up Klaviyo like a pro. And if you’re ready for the next level, don’t miss my upcoming course, Leads on Autopilot: Build a High-Converting Pop-Up & Welcome Flow in Klaviyo, where I’ll guide you through everything in detail.
About Liezle
I'm a Klaviyo Partner dedicated to helping e-commerce entrepreneurs simplify email marketing and turn it into a revenue-generating machine—without the tech overwhelm. If you’ve ever felt stuck on what to send, how to set up automations, or how to actually see sales from your emails, you’re in the right place.
